Couldn't load pickup availability
DIY Candle Making Kit
Make your own candle at home!
What you’ll need at home:
Food thermometer
Double boiler OR microwave safe container
Utensil for stirring
Scissors
What’s included:
1 Bag of soy wax flakes
1 Bottle of fragrance
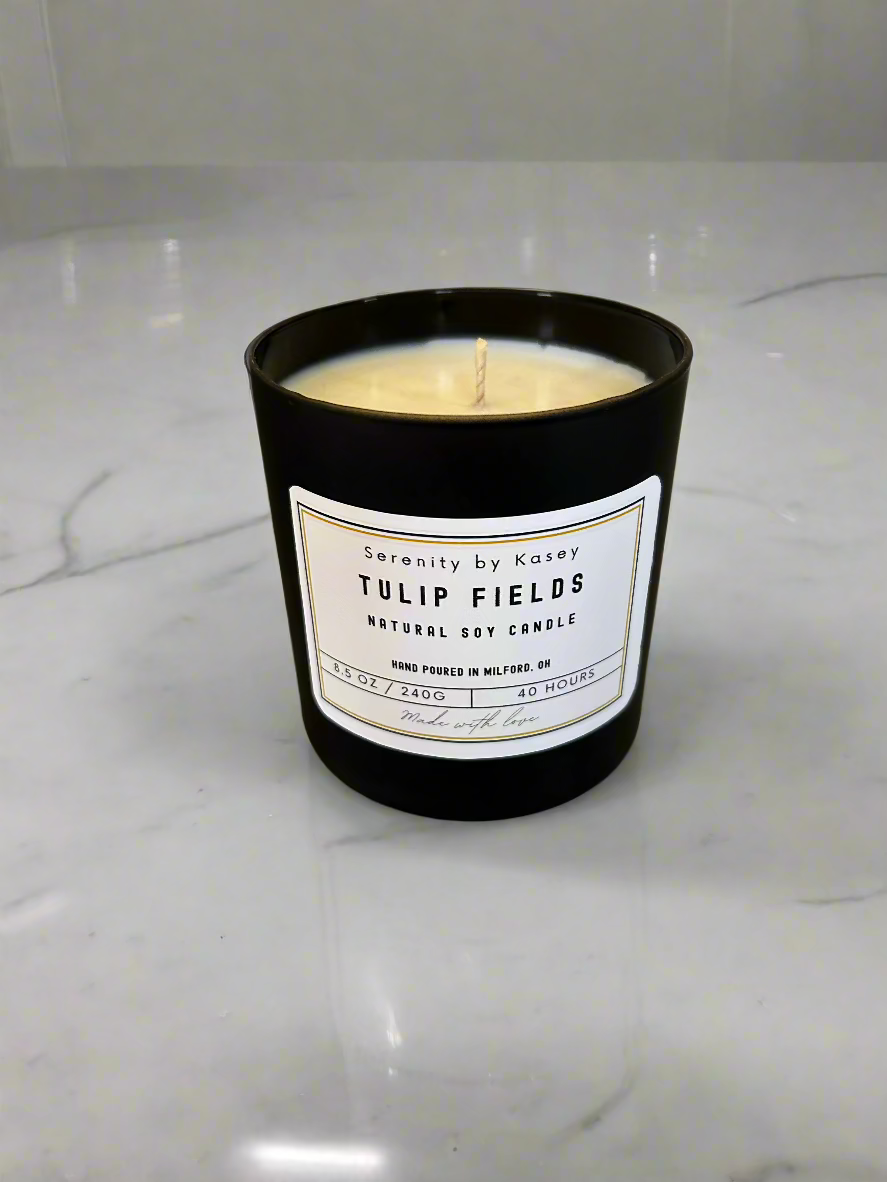
1 Candle container with warning label attached
1 Wick with wick sticker already attached
1 Additional wick sticker
1 Popsicle stick with hole (wick holder)
1 Sticker Label
Directions:
-
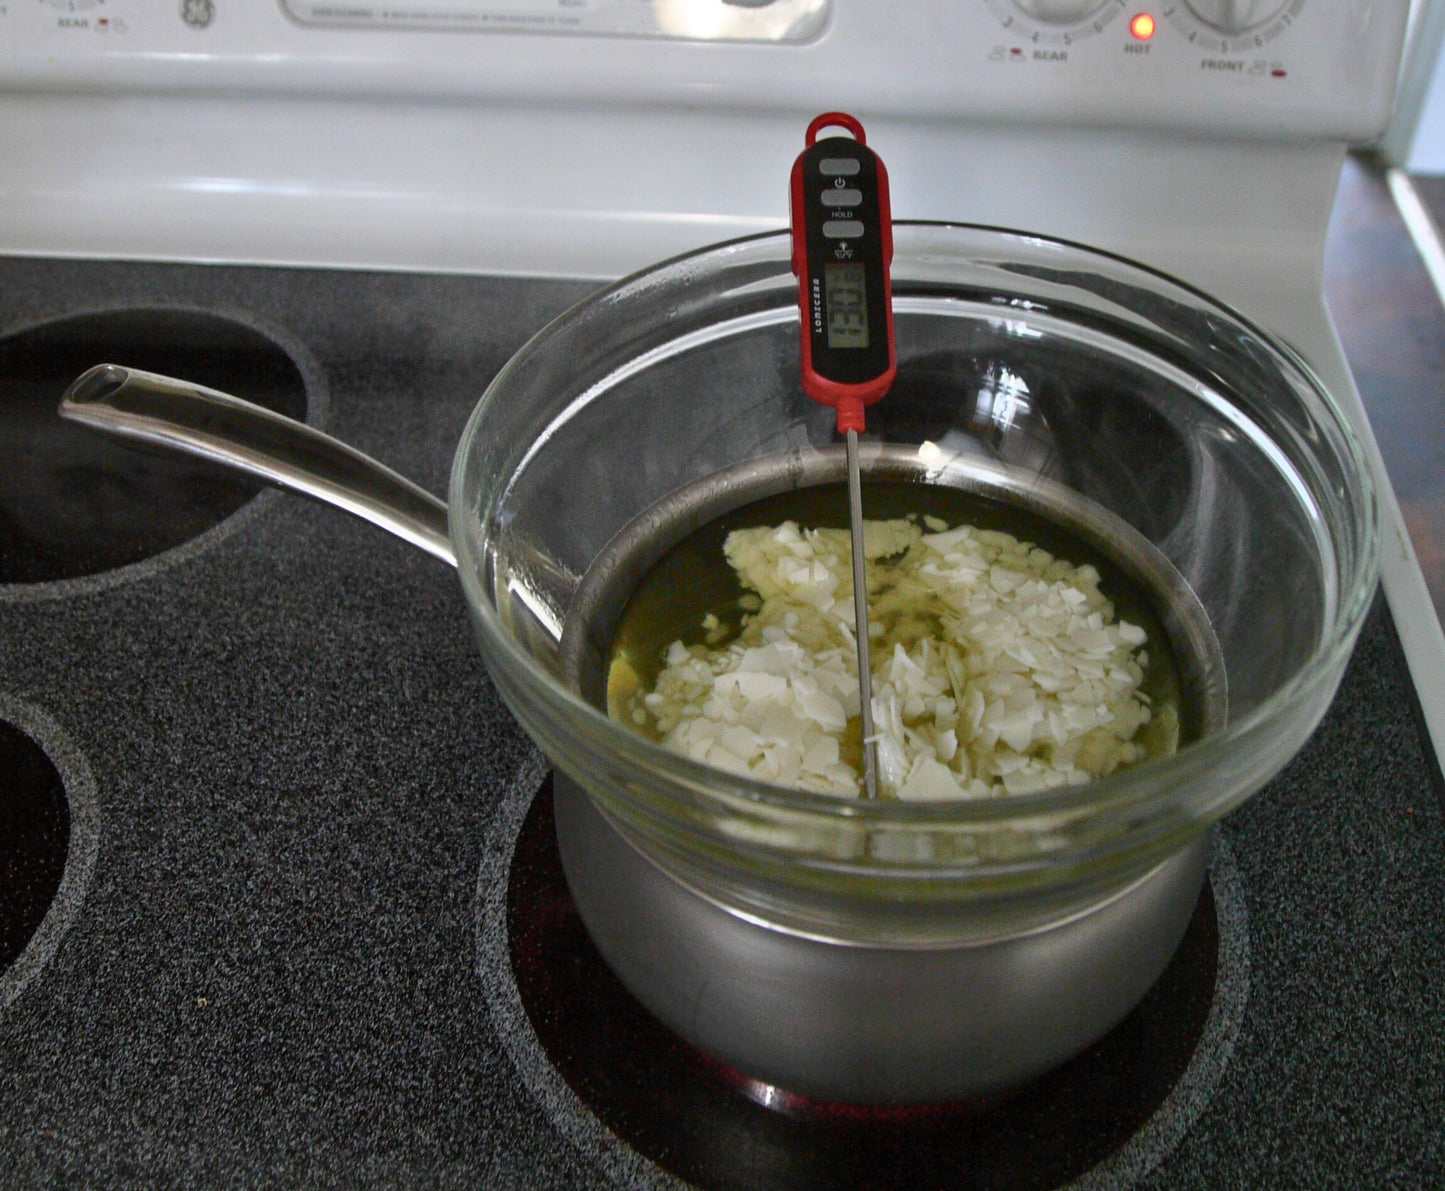
Fill the bottom double boiler pot with a couple inches of water and turn the heat on medium high
-
Pour the soy wax flakes into the top double boiler pot / bowl
-
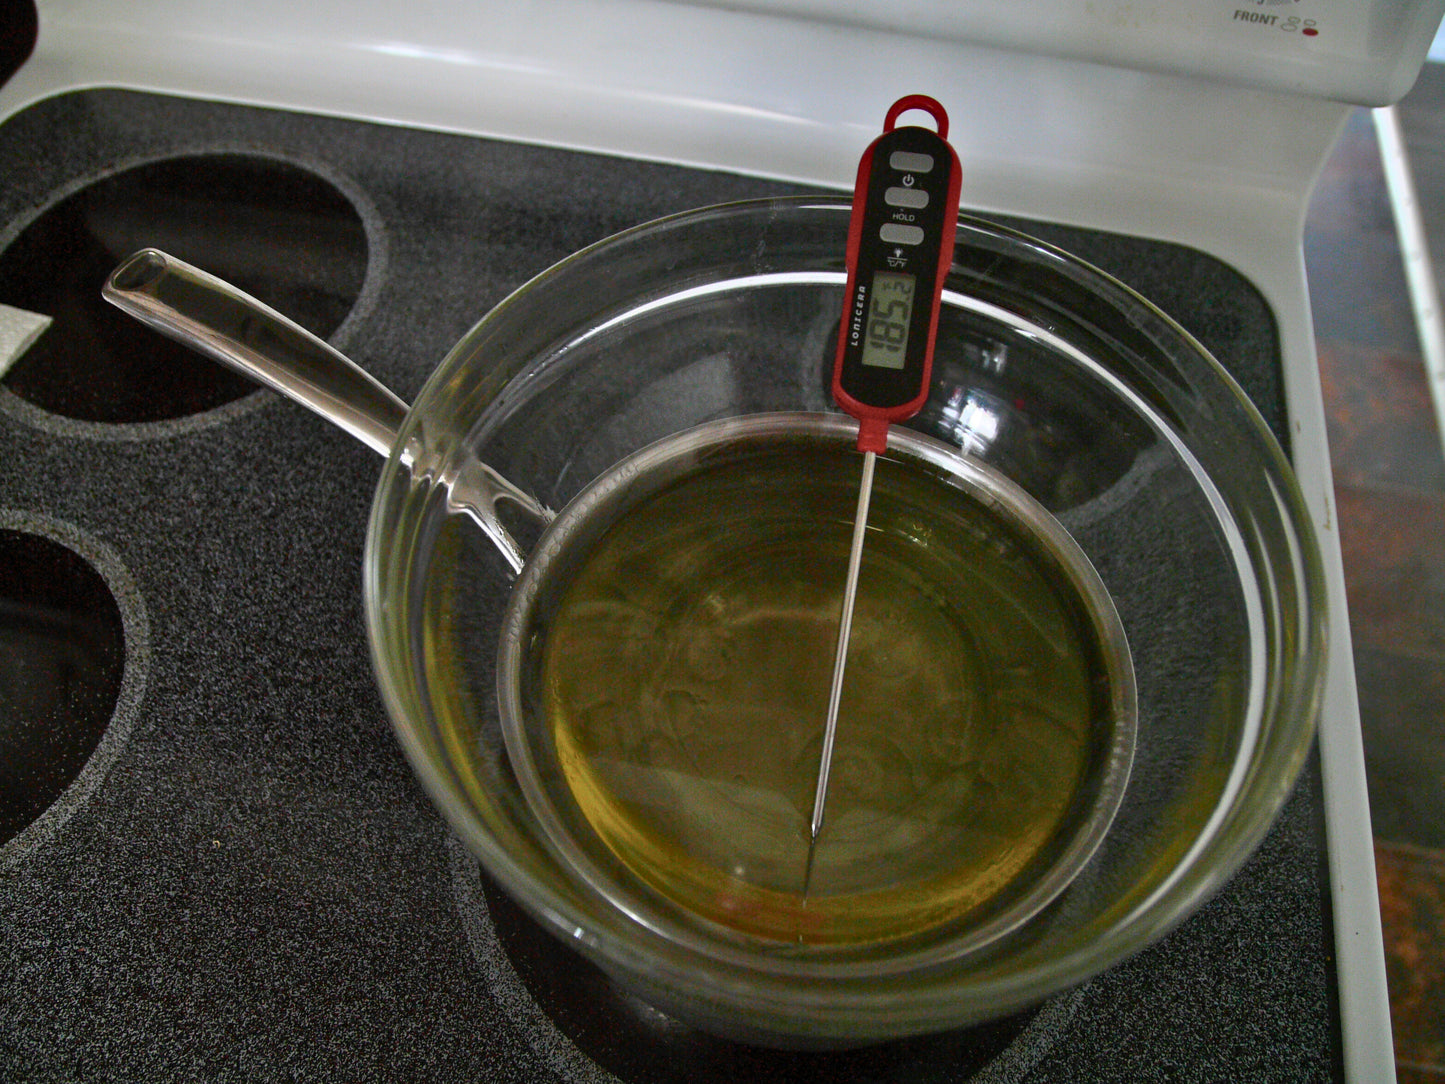
Melt the wax until the temperature of the wax is at least 185°F
-
If using a microwave safe container, heat the wax in the microwave in 60 second intervals until the wax has started to melt. Once you see the wax melting, back down to 30 second intervals until you reach a temperature of at least 185°F. Stir the wax in between microwave sessions.
-
Turn off the stove and take the bowl of wax off the heat
-
The ideal temperature to add the fragrance is between 175°F - 185°F. If your fragrance *flashpoint is higher than 185°F, add the entire bottle of fragrance to your wax when the wax temperature is between 175°F - 185°F. The flashpoint is located on your fragrance bottle.
-
Stir slowly for a couple minutes and let the wax sit until it is ready to pour, which will be between 135°F - 145°F. Stir a few times while you’re waiting for the temperature to come down.
-
While you wait for your wax to cool, take your wick and peel off the paper from the bottom of the wick sticker. Take your candle container and stick the wick to the inside base of the container. Try to get it as close to the center as possible but if you’re a little off, that’s ok! It doesn’t need to be perfect. I have included an additional wick sticker in case you need a redo.
-
Once your wax reaches between 135°F - 145°F it’s time to pour! Stir your wax one more time before pouring. It’s easiest to use a container with a pouring spout, like a large measuring cup. If preferred, transfer your wax to the desired pouring container then slowly pour the wax into the provided candle container.
-
Take your popsicle stick and slide the wick through the hole then set the popsicle stick down on top of the candle container while the wax sets. Center the wick as best you can. A chip clip or laundry pin can be used just above the popsicle stick to keep the wick in place, if needed.
-
Leave the wax undisturbed while it sets. It can take a couple hours for the wax to completely set. When the wax has hardened it may develop a frosty, bumpy, or cratered surface, which is a natural characteristic of soy wax. If you have a heat gun, you can use it to remelt the top of the candle to give it a smooth surface. Otherwise, this will melt away once you light the candle.
-
Trim the wick to ¼” once the wax has set. Add the provided label sticker to the candle container, if desired.
Important Notes:
It is best to let the candles sit for 1-2 weeks before burning so that the candle can properly cure. This will allow the fragrance to fully bond to the soy wax, giving it a stronger scent the longer you let it sit.
*The flashpoint is the temperature at which the fragrance will burn. If you add your fragrance to the wax when the wax temperature is above the fragrance flashpoint, your fragrance will burn and your candle will not give off a strong scent.
The preferred temperature to add your fragrance to the wax is when the wax is between 175°F - 185°. However, if your flashpoint is lower than the preferred temperature, for example, 165°F, add the fragrance at or below 164°F.
Share